How to Install an Indoor Playground: A Step-by-Step Guide
Installing an indoor playground is a practical way to create a safe, engaging, and long-lasting play environment for children. Whether the project is for a commercial play center, kindergarten, or family entertainment space, proper planning and installation are essential for safety and durability.
This guide walks you through the complete indoor playground installation process, from early planning to final inspection.
Step 1: Plan the Indoor Playground Design
Measure the Available Space
Start by measuring the full installation area, including ceiling height, columns, and emergency exits. Accurate dimensions help avoid layout issues later.
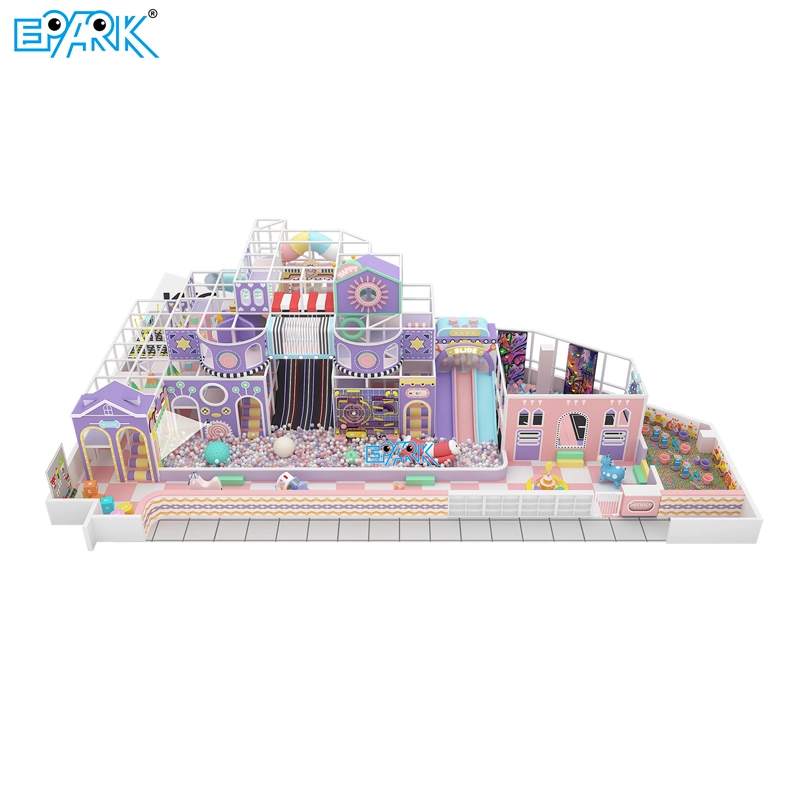
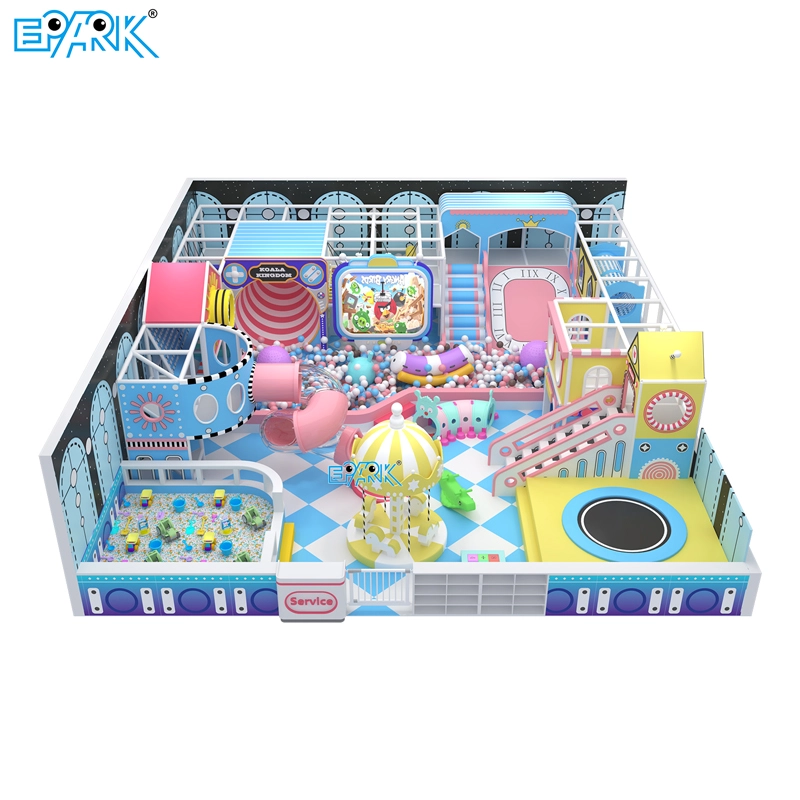
Define Theme and Play Elements
Choose suitable features such as slides, climbing structures, tunnels, or ball pits based on your indoor playground concept.
Identify the Target Age Group
Select equipment designed specifically for the age range of children who will use the playground.
Prioritize Safety Layout
Ensure sufficient clearance between play elements and confirm that the design aligns with recognized safety standards.
Step 2: Check Regulations and Approvals
Before installation begins, review local regulations related to indoor playground equipment.
Confirm compliance with:
Building safety requirements
Fire protection regulations
Local inspection or licensing rules
Early approval helps prevent delays during installation.
Step 3: Prepare the Installation Area
Clear the Site
Remove furniture, fixtures, or obstacles from the space.
Install Protective Flooring
Use shock-absorbing and non-slip flooring such as rubber mats or foam tiles to reduce injury risks.
Verify Floor Load Capacity
Ensure the floor structure can safely support the weight of the indoor playground equipment and users.
Step 4: Purchase and Inspect Equipment
Source your indoor playground equipment from a reliable supplier.
Upon delivery:
Verify safety certifications such as ASTM or EN standards
Inspect all components for damage
Confirm all parts are included before assembly begins

Step 5: Assemble the Indoor Playground
Follow the manufacturer’s installation guidelines carefully.
Assemble components step by step
Tighten and secure all fasteners
Anchor larger structures such as slides or climbing walls to ensure stability
Accurate assembly is critical for long-term safety.
Step 6: Install Essential Safety Features
Enhance safety by adding:
Padding around poles and edges
Guards for moving or elevated parts
Impact-absorbing surfaces under high-activity zones
These measures help reduce injury risks during active play.
Step 7: Inspect and Test Before Opening
Conduct a Full Safety Check
Walk through the indoor playground to identify loose components or potential hazards.
Test All Equipment
Check stability, durability, and proper function.
Perform a Trial Run
Allow limited supervised use to observe how children interact with the equipment and identify any adjustments needed.
Ongoing Tips for Indoor Playground Operation
Routine Maintenance: Schedule regular inspections to maintain safety standards
Clear Usage Rules: Display guidelines for children and supervisors
Visual Enhancements: Add themed decorations or wall graphics to improve the overall experience
Final Thoughts
A well-installed indoor playground not only enhances safety but also improves user experience and long-term operational efficiency. Careful planning, correct installation, and regular maintenance are key to building a reliable and enjoyable play space.